

PyCharm is an Integrated Development Environment (IDE), built by JetBrains, for the Python software development language. Python is a fast, interpreted language suited to data analysis and artificial intelligence but it can also be used to run a web application or build a game. While any code editor can be used to write Python code, Pycharm is a software platform that supports:
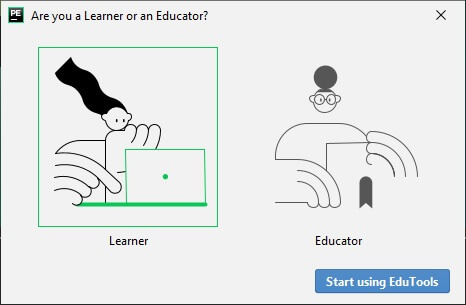
PyCharm Edu is a free version of PyCharm made to help teach Python. It can be run in learner mode or educator mode and has features to support these audiences. Educator mode offers access to the JetBrains academy with Python course curriculum for teachers.
PyCharm Community Edition is a full featured IDE including highlighting, autocomplete a powerful debugger and git integration. The community edition is highly capable and can get you a long way in your Python journey. PyCharm Community is great for pure Python development.
PyCharm Professional is the paid version of PyCharm. It includes a profiler, and extra support for working with databases, external frameworks and scientific tools. PyCharm Professional also supports web languages like HTML, CSS and Javascript.
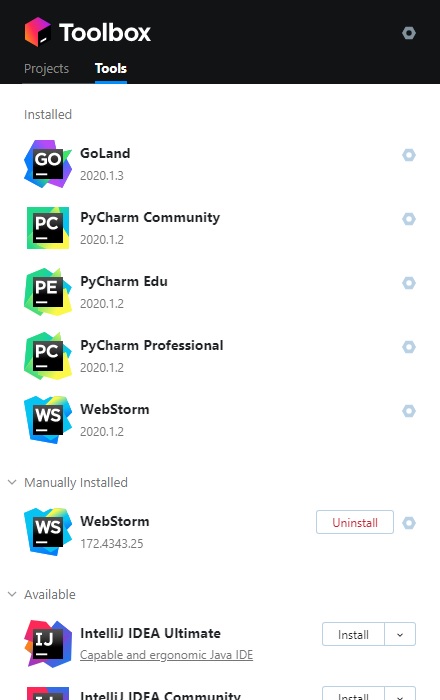
I recommend using the JetBrains Toolbox to install and manage your PyCharm install. The Toolbox runs on Windows and Linux (AMD only) and helps you manage all JetBrains tools. It is similar to the Adobe Creative Cloud app.
PyCharm can also be installed standalone. I recommend installing PyCharm as standalone on ARM architectures where the ToolBox won't run. PyCharm is Java based, so as long as you have Java you can run PyCharm.
The Jetbrains Toolbox can be installed via download. The JetBrains website should detect your OS and switch to a tar.gz file download for Linux.
Go to JetBrains Toolbox app page and download the install package
tar -zxvf jetbrains-toolbox-1.17.7018.tar.gzThis command will expand the Toolbox files into a new folder called /jetbrains-toolbox-1.17.7018 in the current folder. Change directories to this folder and run the Jetbrains toolbox
cd  jetbrains-toolbox-1.17.7018
/jetbrains-toolbox
From the Toolbox, click on "install" next to the PyCharm edition you wish to install. Once the install is complete you can run PyCharm from the Toolbox or from the JetBrains group.
If you dont have Python installed, you'll want to install a Python interpreter. To install python on Windows go to www.python.org and to the downloads to find the latest stable version. Python can be installed on ubuntu with the following command:
sudo apt install pythonOk let's create a project. Start PyCharm and create new project from the start page. We'll call it "hello-world".
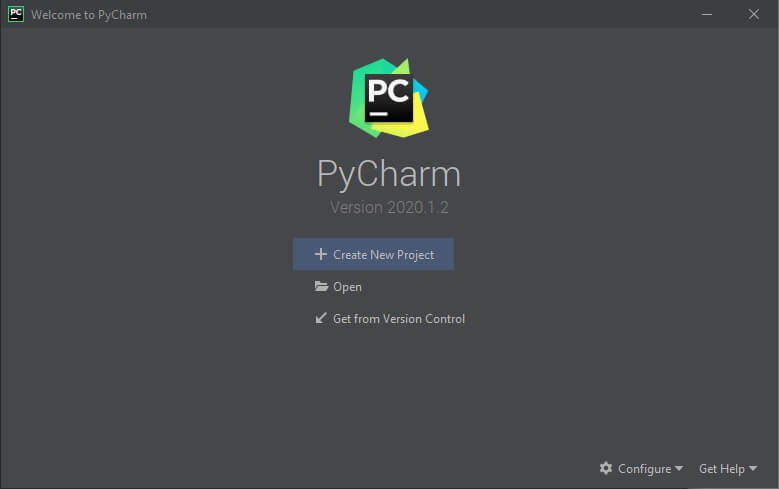
The following screen is displayed to setup your project.
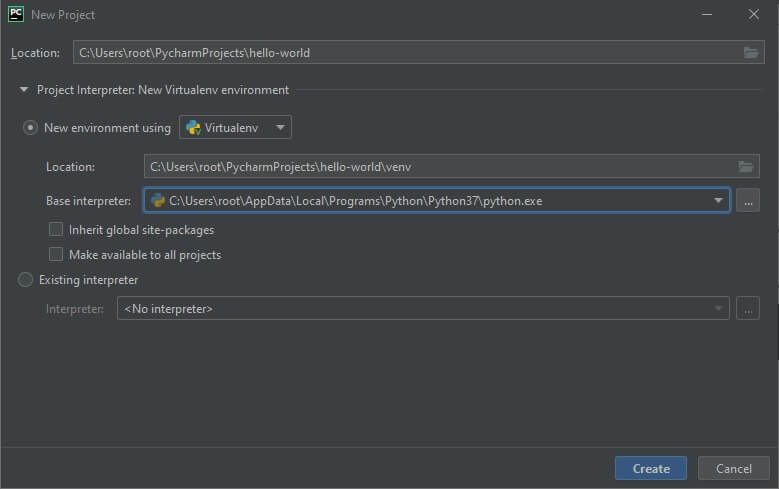
In this example, I have the Python37 interpreter setup on Windows. The Virtualenv setup allows you to run your code in a Virtual interpreter environment hosted by PyCharm.
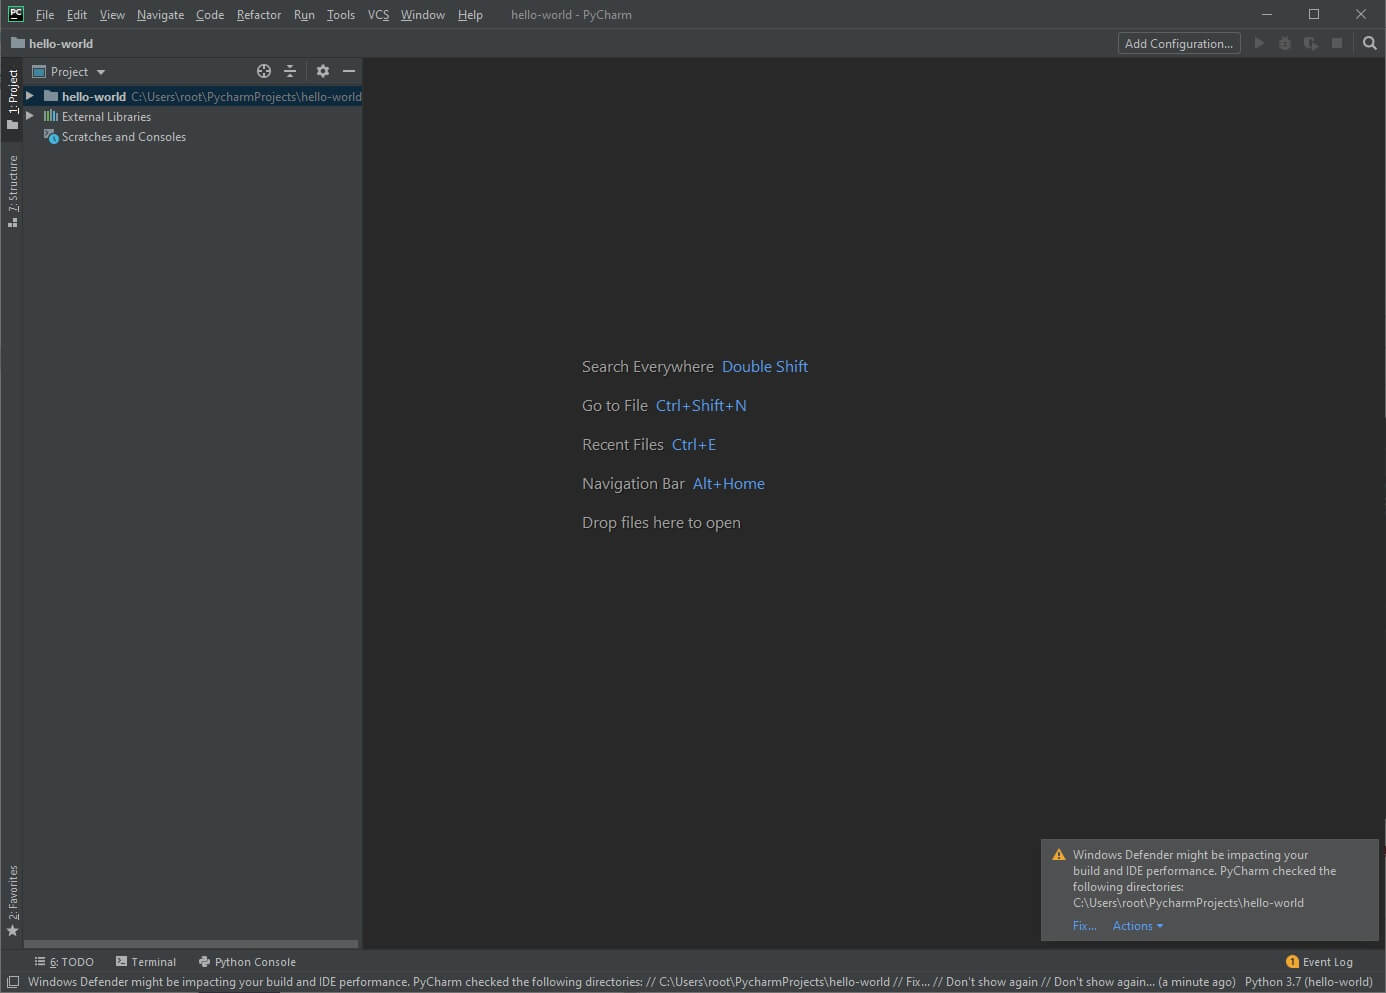
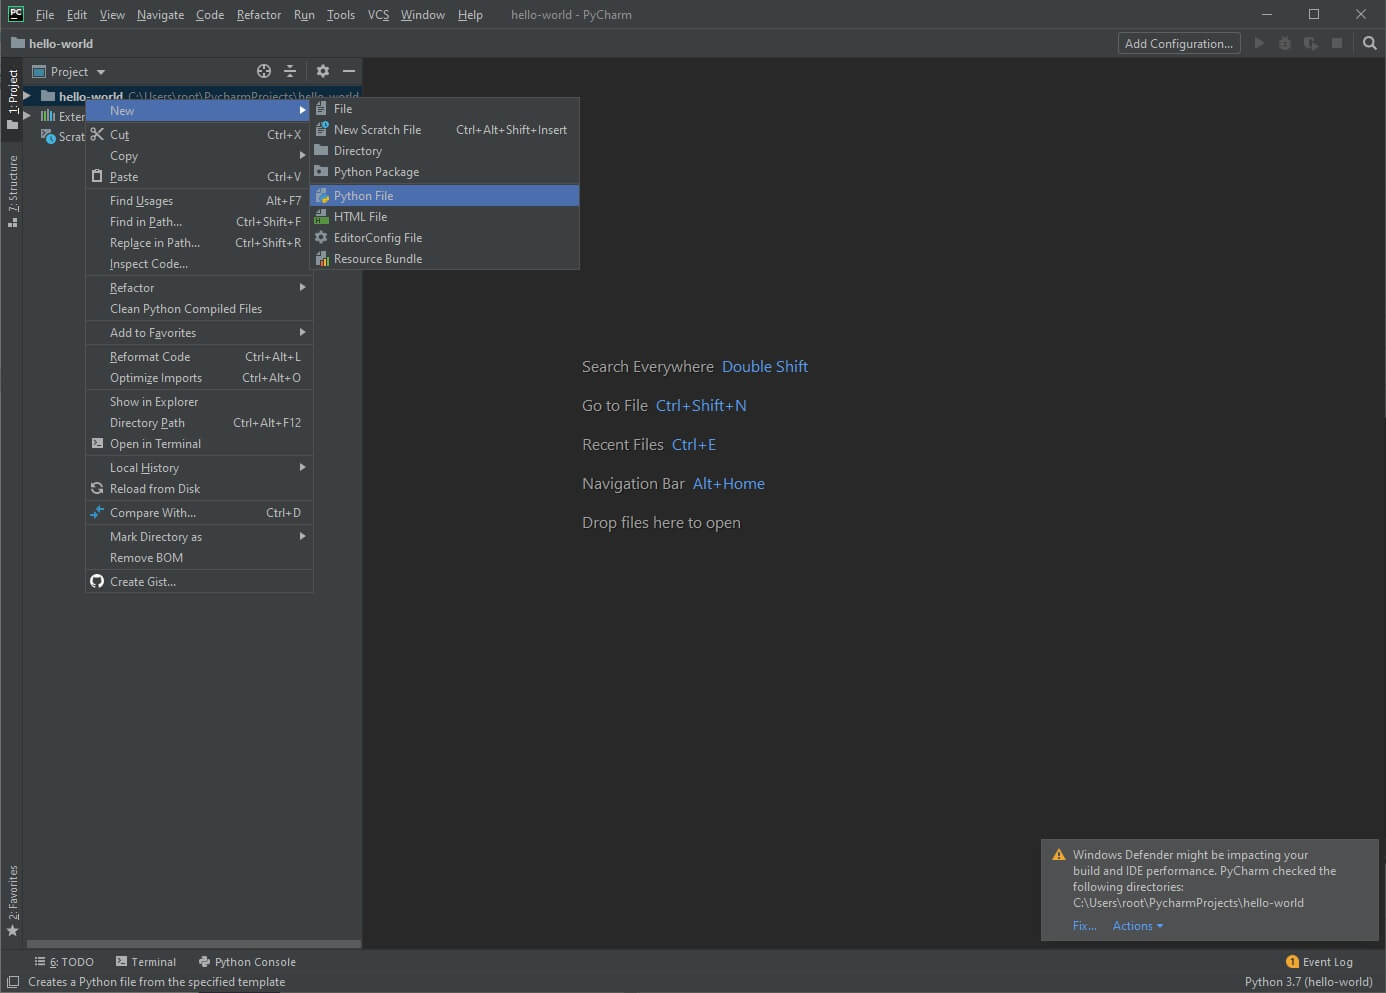
Let's add a simple code file. Right-click the "hello-world" project folder and add a Python file to the project called "hello-world". PyCharm will add the "py" file extension, so don't type that.
In the hello-world.py editor window add the following code:
print("Hello, World!")You can run this code using the short cut Shift-F10 or right click and select "run".
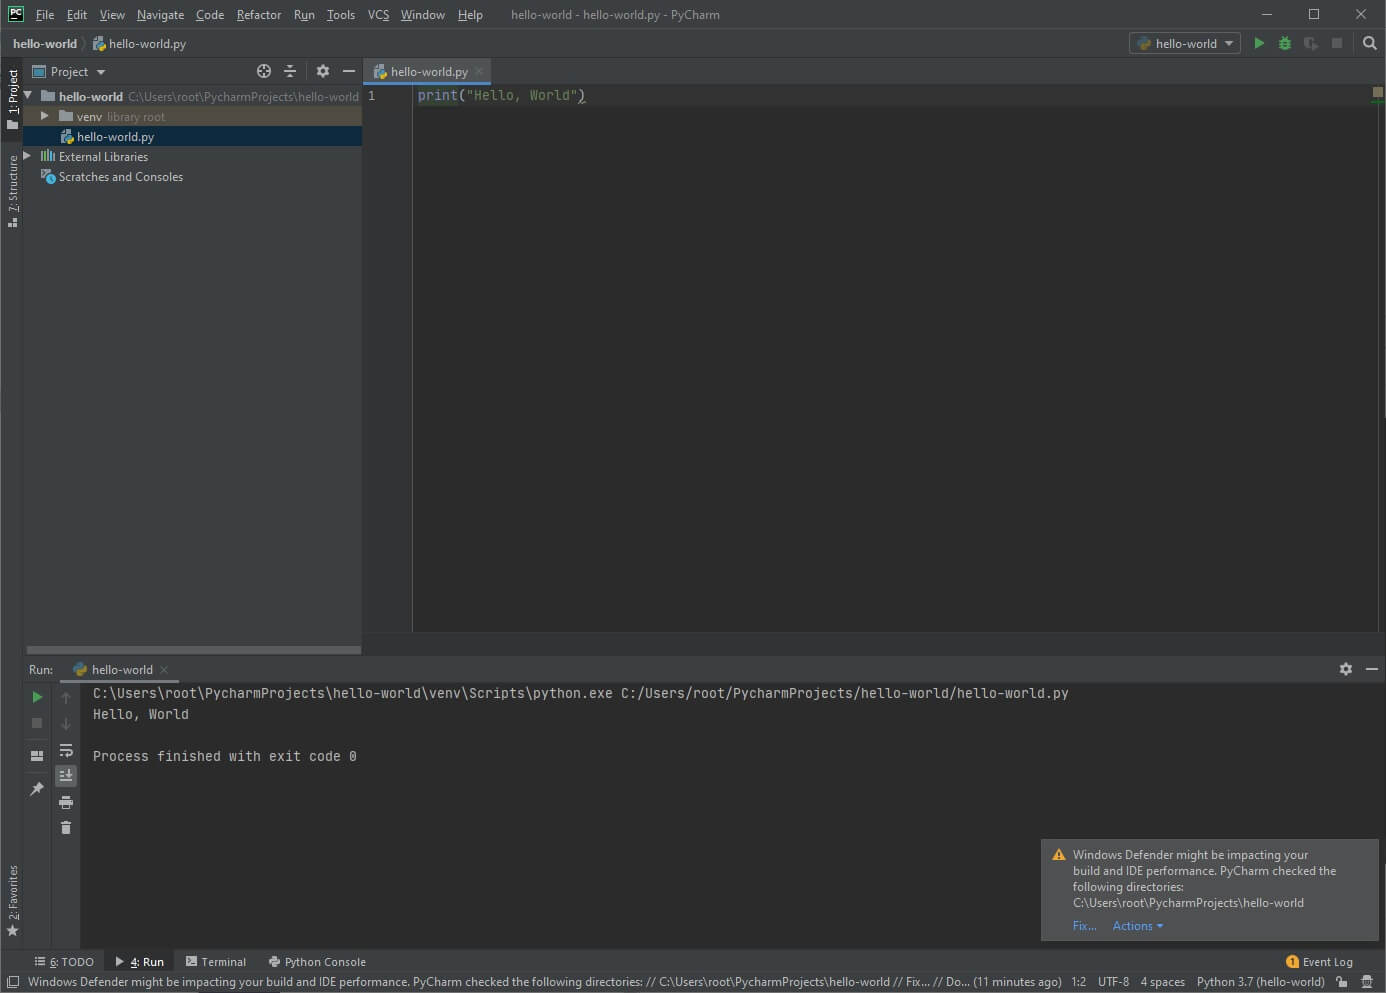
There we have it! PyCharm is setup and running Python code.
The message about Windows Defender impacting performance is an optimization that PyCharm offers to help improve the coding experience. Anti Virus software will scan new files and file updates which can slow down performance. The work you are doing in a Python project does not need to be scanned on every change. PyCharm can update Windows Defender automatically. Choose "Fix" and "Configure Automatically"

Photo by Reuben Mcfeeters on Unsplash