
Geany is a very lightweight code editor or IDE (Integrated Development Environment). It is very well suited for coding on the Raspberry Pi because it provides a lot of functionality while efficitently using computer resources like CPU and most importantly RAM (system memory). In this article I walk through how to install Geany on Raspberry Pi running Ubuntu, Raspbian and Manjaro. I also have a quick start guide to get you up and running for code development with Geany.
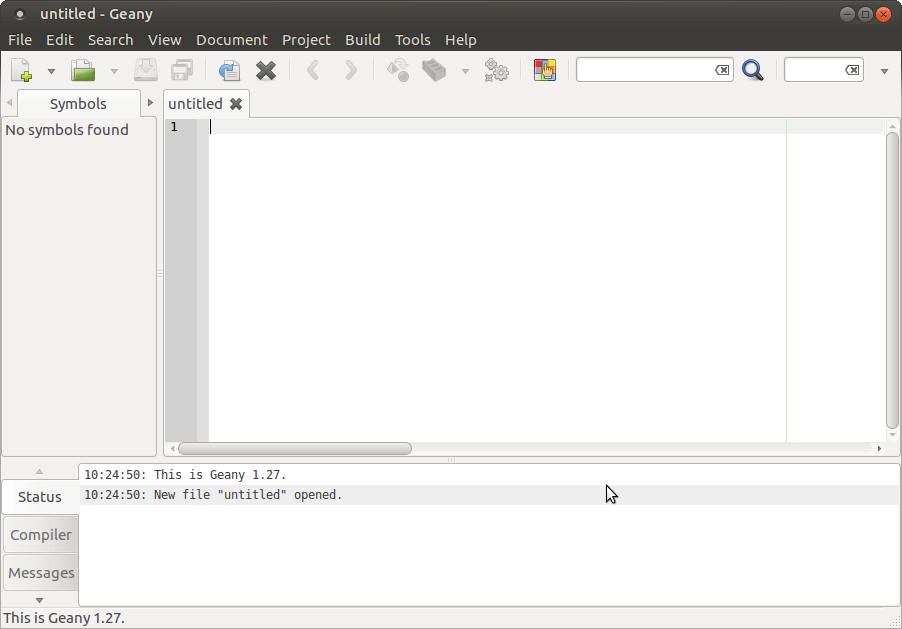
An IDE is a code editing environment that allows you to edit code files, compile and debug your software program all within one application. The following is a screen shot of the Geany IDE on first open.
Some of Geany's notable features include:
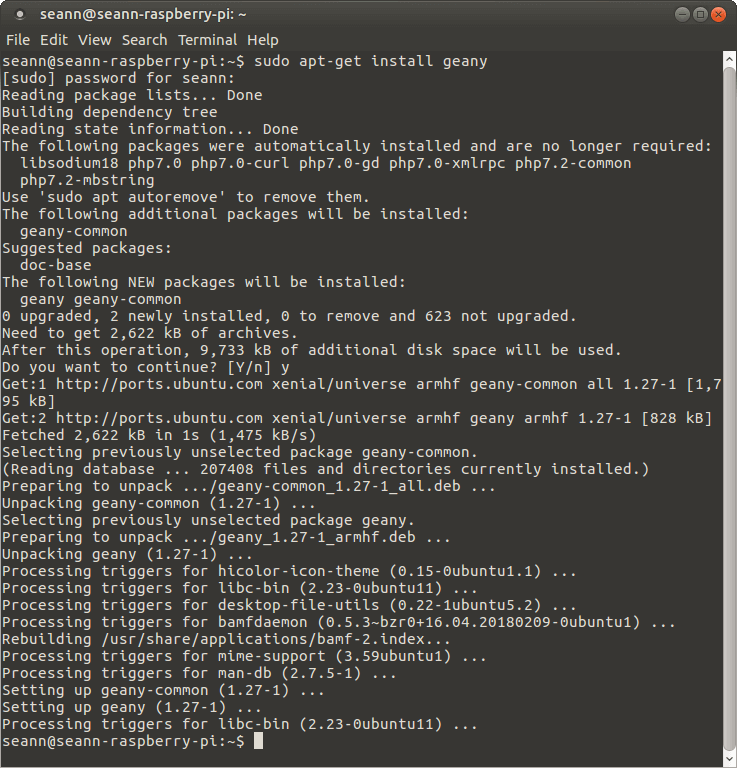
Installing Geany on Ubuntu and Raspbian is simple. Open a terminal and run the following command
sudo apt-get install geanyThe following is the ouput from running the geany install on my Raspberry Pi 3B+ with Ubuntu 16.04.
There is a Manjaro distribution for Raspberry Pi and it works quite well.
Geany can be installed on Manjaro using snap. You'll need to make sure Snaps is installed first with this command.
sudo pacman -S snapdEnable the Snap socket with the following command.
sudo systemctl enable --now snapd.socketEnable classic snap support by creating a symbolic link from /var/lib/snapd/snap to /snap.
sudo ln -s /var/lib/snapd/snap /snapSnaps can also be installed through Pamac. Invoke the following command to install the Geany snap.
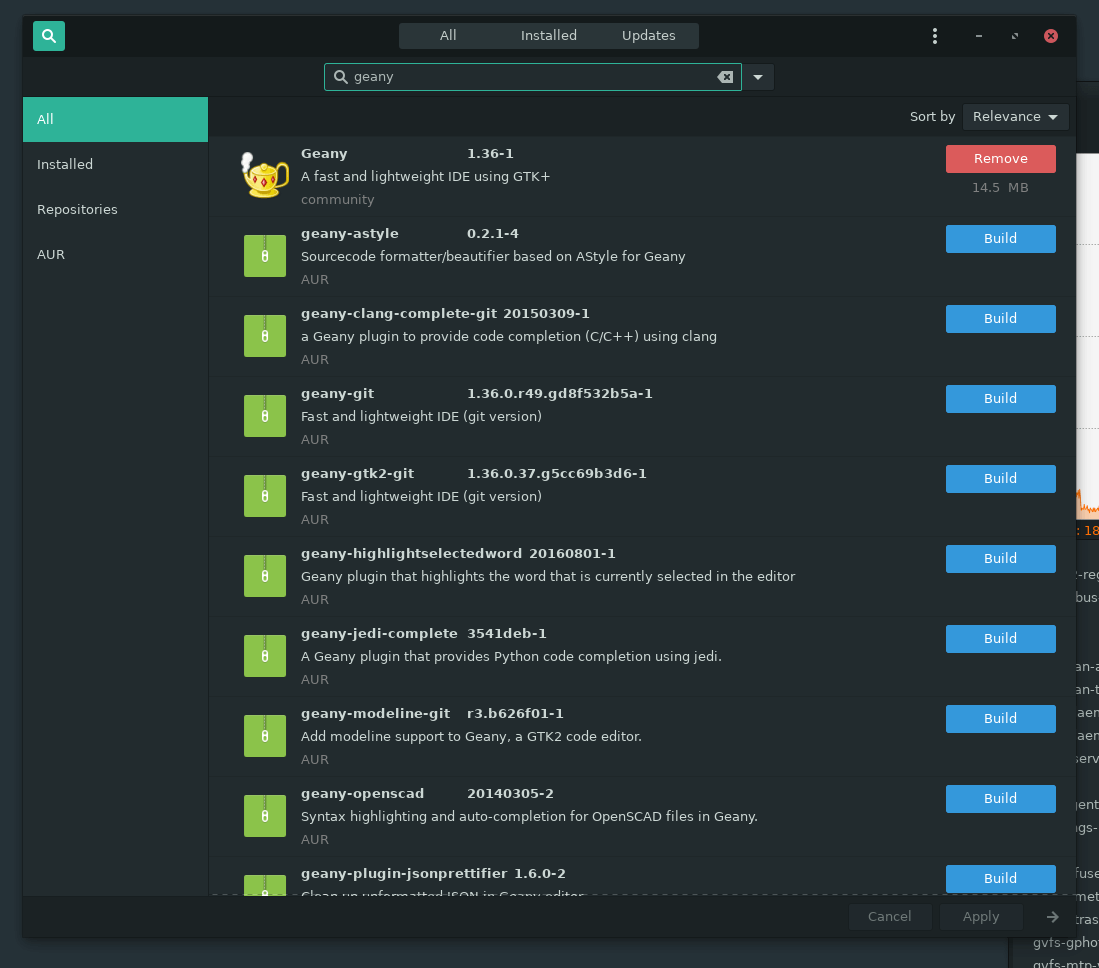
sudo snap install geany-gtk --edgeGeany can also be installed using the Add/Remove programs pamac manager system application.
Once Geany is installed it can be run via command line, or from the menu under 'programming' for Ubuntu and Rasbian, or 'Development' on Manjaro.
Geany is very straightforward and simple to use. If you are planning on coding with Python see my article Geany Python for instructions on Geany setup specific to Python development. Running Geany on Raspberry Pi is exactly like Geany on Windows or on Mac, however the packager may not have the latest available version.
There is a comprehensive Geany manual so I will summarize the most frequent features you will need to edit and build code files.
Files are managed individually in Geany, even though you can view files and folders in the documents view there is no folder context and you can't add folders through Geany. Enable the File Browser plugin to provide directory viewing and navigation in the left panel. I also recommend enabling the split window plugin so you can view multiple files at once.
Geany has a built in terminal that can be accessed from the Messages area at the bottom. Because Geany does not allow you to add folders from the file browser, you can use the terminal for folder management. Scroll the menu on the left of the messages window to the Terminal item to open the terminal.
 An example might be the easiest way to show how to manage files. Let's create a Hello World program in C. From the terminal we can create a project directory.
mkdir hello-worldIn the terminal, change to the hello-world folder.
cd hello-worldSo we can see the files we're working with switch to the Files view in the sidebar and navigate to the new hello-world folder.
Create a new file called hello-world.c. There are 2 steps to do this:
Save your new file as hello-world.c into your hello-world folder and add the following code to it and save the changes.
#include <stdio.h>

int main(int argc, char* argv[]) {
  printf("Hello, World!\n");

  return 1;
}A project is a Geany convenience feature that allows you to save your file state, and IDE settings that may be specific to your project.
For the hello-world example, with the hello-world.c file open select project->New... from the menu. You will be prompted to add the current open files to the project. Select 'Yes' to add hello-world.c to the new project.
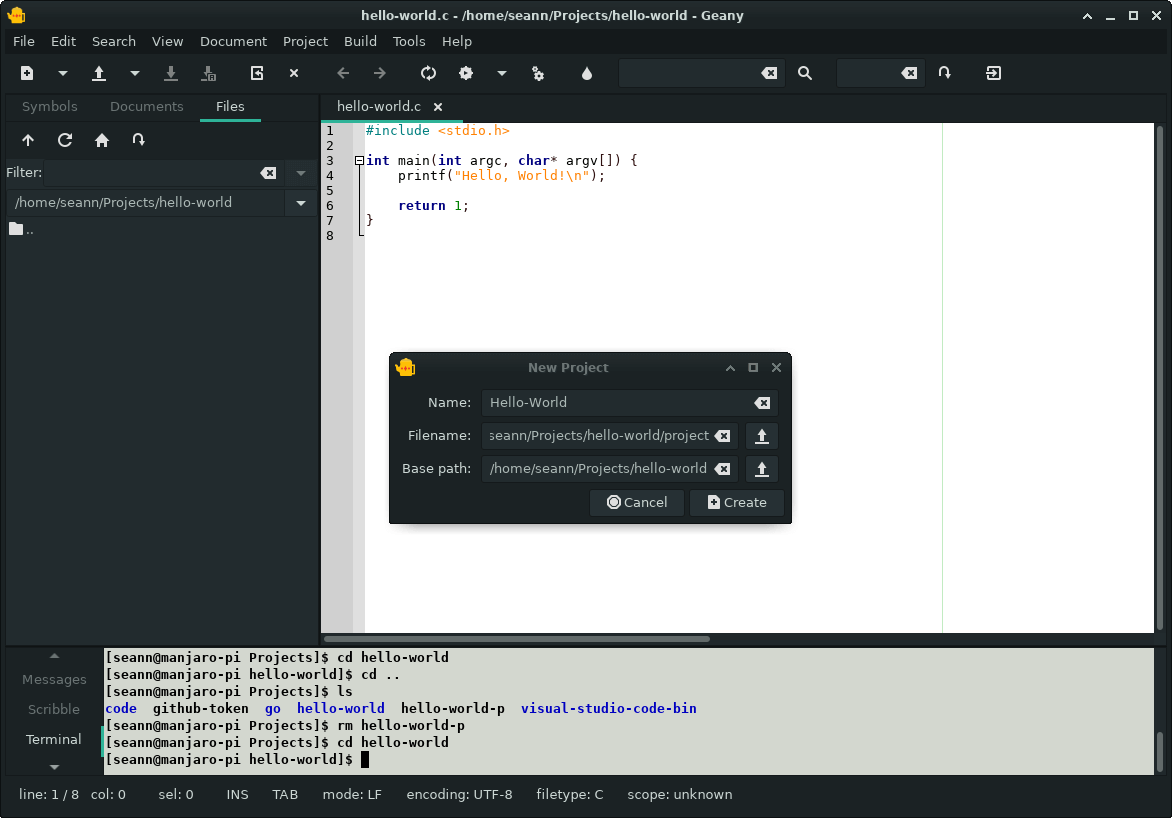 The following fields are displayed for the project setup:
Now you have a project file that will load your source files and set your project directory when you load it.
Under the Build menu you'll notice the Compile and Build menu items. There is also a Make option, but we'll need a makefile first. With a single source file we can use the Compile option. If you click compile (or hit F8) Geany will compile hello-world.c to hello-world.o using the gcc compiler.
Build will create a hello-world executable. You can run it from the terminal using ./hello-world or run it from the menu using Build->Execute. To run your program in the terminal enable the 'Execute programs in the VTE' setting in Edit->Preferences.
If you have code modules you'll need a Makefile to help Geany build your project. Let's add an example module and makefile.
I'm going to add a code file and header file called greet.c and greet.h
Here is greet.h
extern void greet(char* name);
Here is the greet.c file
#include <stdio.h>
#include "greet.h"

void greet(char* name) {
  printf("Hello %s, Good Morning!\n", name);

  return;
}
If you project is open, these files will get added to it and when you save them, you should be defaulted to the base path folder. Let's create a dependency on this module from the hello-world.c code. Update hello-world.c to the following:
#include <stdio.h>
#include "greet.h"

int main(int argc, char* argv[]) {
  printf("Hello, World!\n");
  greet("Your Name");
  return 1;
}
Geany won't know how to build this, so we need a makefile. Add a file called Makefile to the project with the following commands:
hello-world : hello-world.o greet.o
  gcc -o hello-world hello-world.o greet.o

hello-world.o : hello-world.c
  gcc -c hello-world.c

greet.o : greet.c
  gcc -c greet.c
Note: makefiles are picky about tabs. There should be a tab preceding each gcc command.
Now that you have a Makefile, you can build complex programs with modules. Selecting Build->Make runs the makefile and builds depencies and the main function in the hello-world.c code.
This is a quick intro to get up running with Geany on Raspberry Pi. There are many more features in this lightweight IDE and plugins add even more power. I like Geany for its simplicity and lightweight system footprint. On a Raspberry Pi 3 it is far more usable than VSCode. On Raspbian Geany uses 22MB of memory whereas VSCode uses 380MB which is almost half of the Pi's available system memory.
Geany also runs on Windows and Mac so it is very portable. If you are interested in other free IDEs and how they compare see:
Photo by Paul Shore on Unsplash